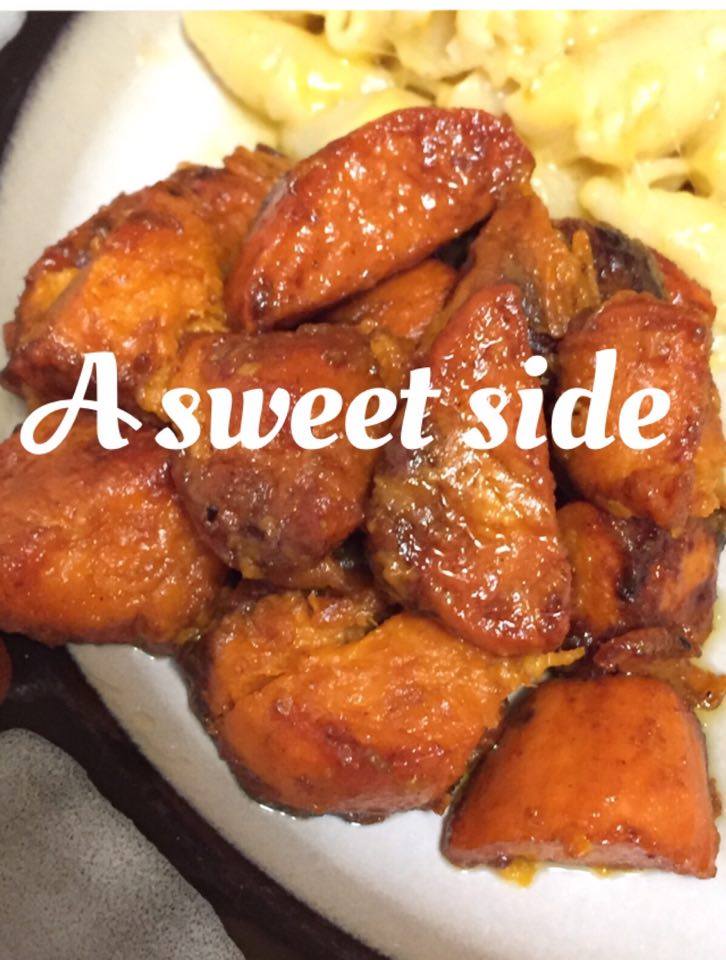
Potato..Patato does it really matter? not to me at least, just as long as it tastes delicious! When making dinner for my family I try my best to make it as delicious and comforting as possible and it all comes down to the side dish. Personally I am a meat and potato kind of girl, you can not go wrong with a potato ever. I think that the sweet potato is not given enough credit and is sometimes overshadowed by the white potato. Not only is it sweet and delicious it also contains many nutrients such as calcium,potassium vitamin c and many more. Though it is a root vegetable and many don't consider it a " real vegetable" they still pack a powerful nutritional punch. Sweet potatoes remind me of my Abuelita, growing up she used to make us baked sweet potatoes mixed with a little brown sugar and milk for breakfast it was simple but so warm and comforting. This recipe is one of my favorites for a sweet potato as a dinner side, there are only four ingredients, it is quick, simple to make and my little ones love them. Enjoy!

Ingredients:
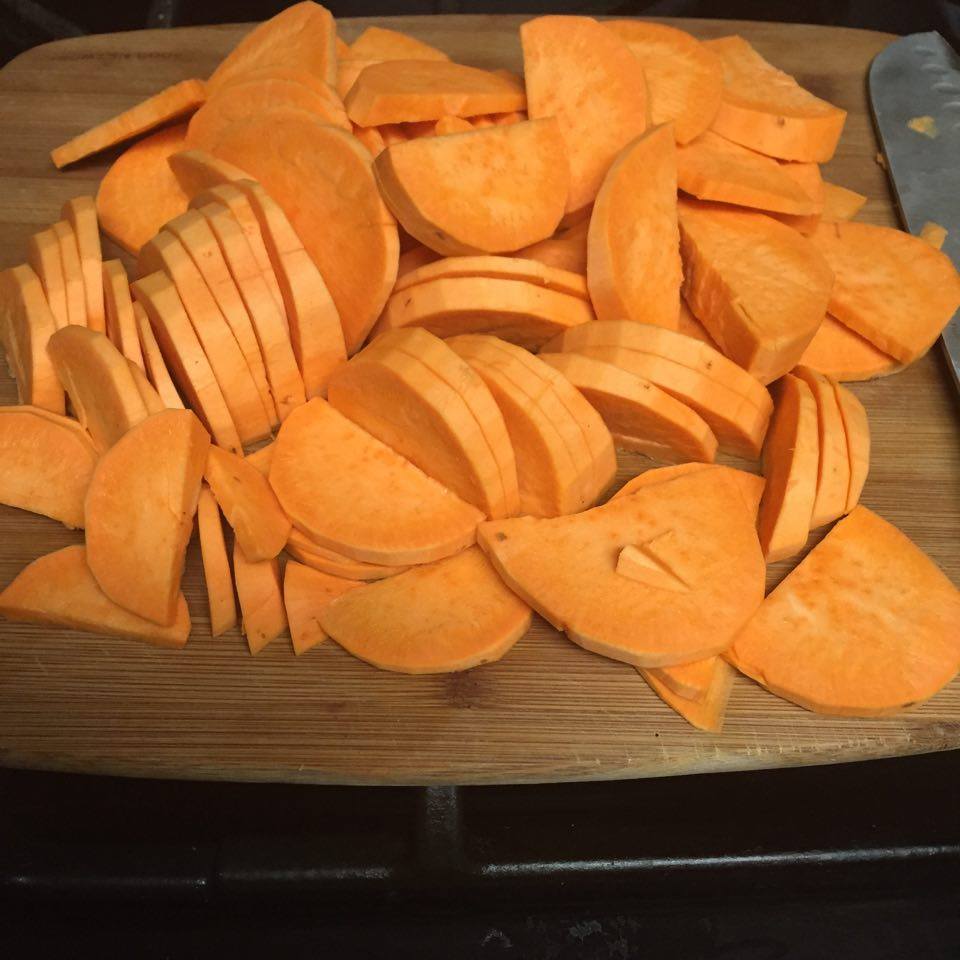
2 sweet potatoes
1 stick of butter
Brown sugar
Cinnamon
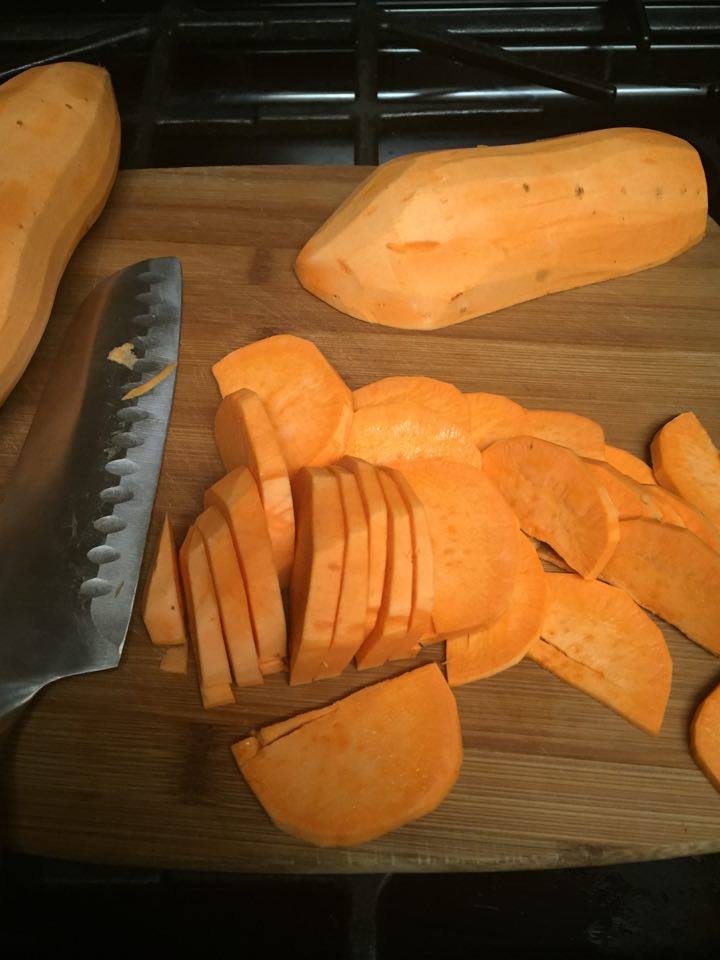
First thinly slice the potatoes

Next up for slicing is the butter! (Fun fact: Butter contains a good amount of fat soluble vitamins and isn't all that bad for you in moderation.)
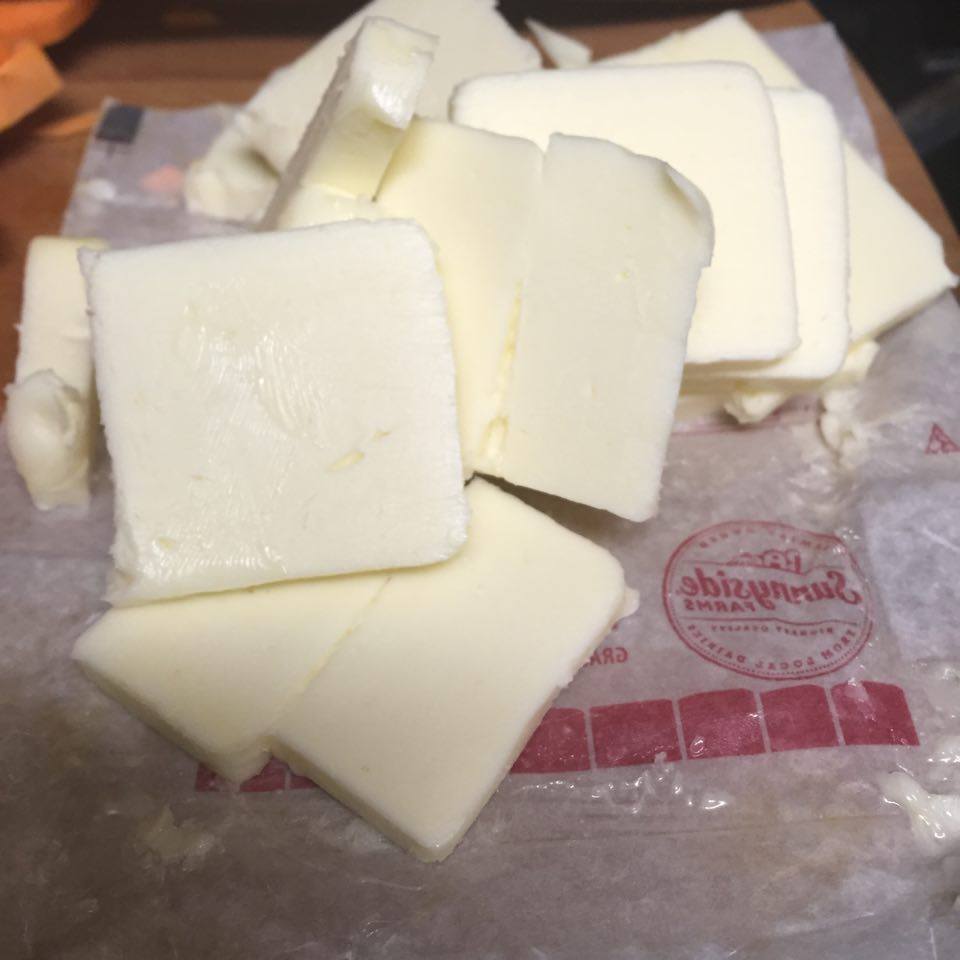
I used 1 stick of Sweet Cream butter and sliced it thin as well to have enough to spread through all layers of potatoes.
Once they are all sliced you can start to assemble them in the baking dish.
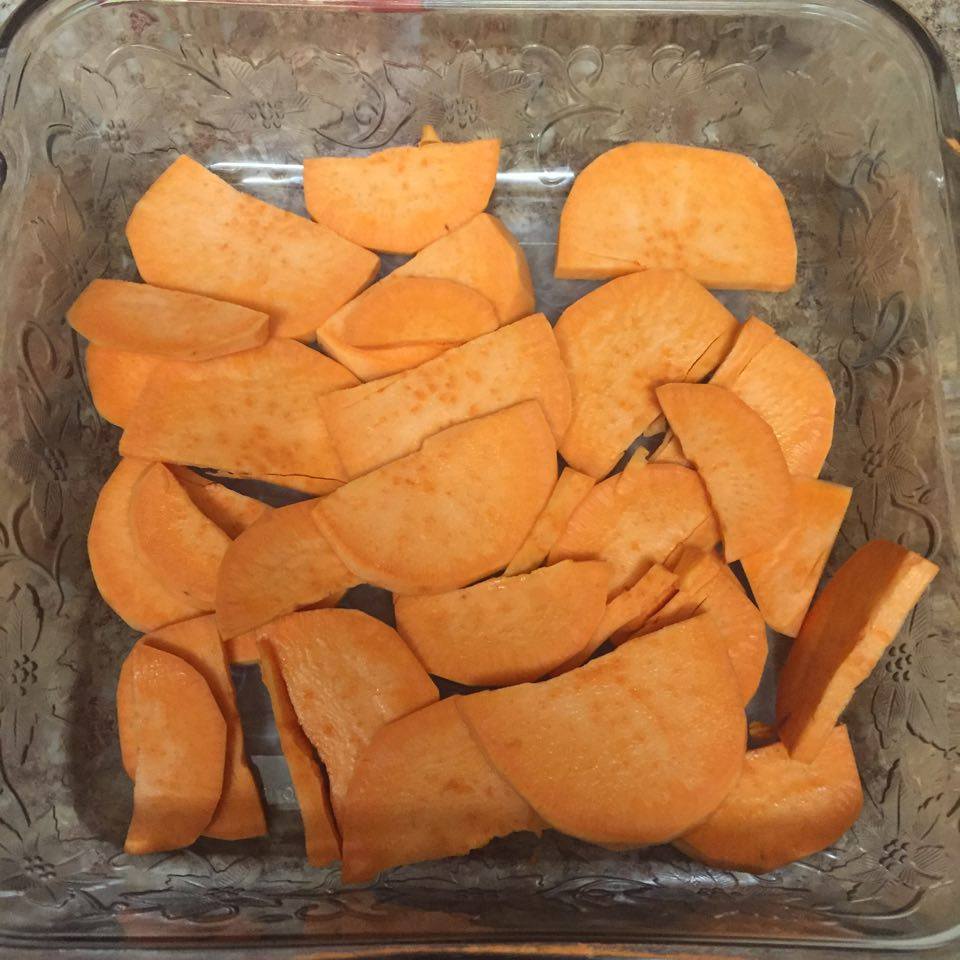
Start with the bottom layer of potatoes, try to spread evenly in the dish.

Take a couple pieces of the butter and place on top of the potatoes. Lightly sprinkle cinnamon and brown sugar evenly across the layer.(Fun Fact: Brown Sugar contains more essential nutrients then white sugar do to the molasses in brown sugar although it won't do to much to meet your daily intake,it is a healthier alternative. Cinnamon also has many health benefits that lead to blood sugar regulation, brain function and better heart health.)

Once the Baking dish if filled to the top cover with foil and bake at 400° for 20-25 minutes
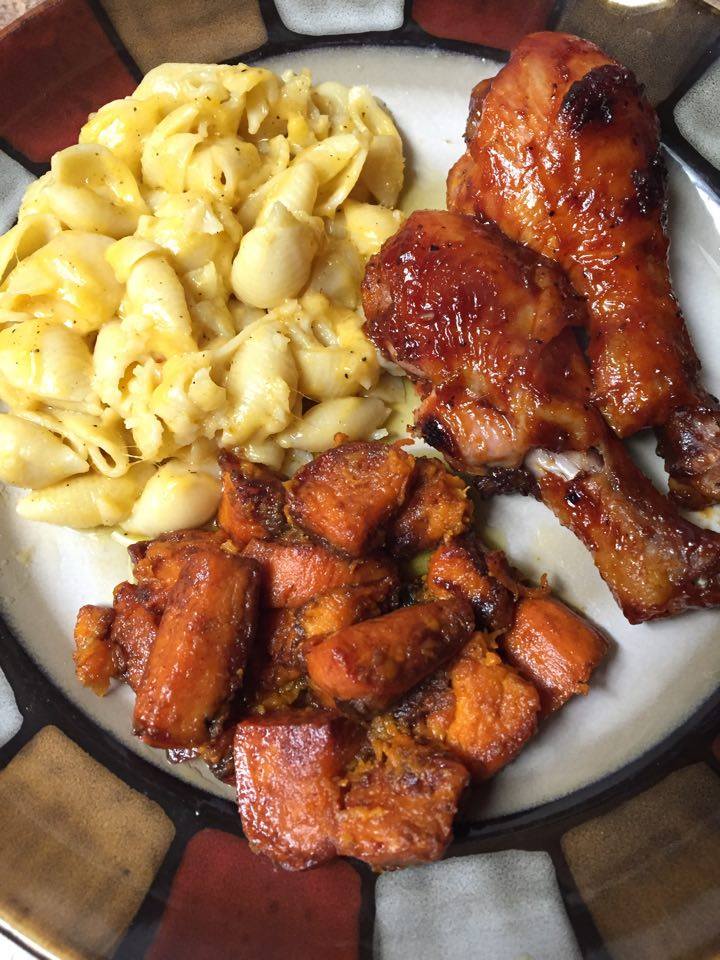
Perfectly roasted and tasty to compliment your Dinner.